One of the new things that was included in Microsoft’s new Windows 10 Anniversary Update was the inclusion of the new Windows Subsystem for Linux (WSL) that allows you to run Bash and Unix terminal programs natively.
There are a couple of steps that you need to take before installing Bash on Ubuntu on Windows. Luckily, they are relatively simple and only requires a single reboot.
Getting Everything Ready
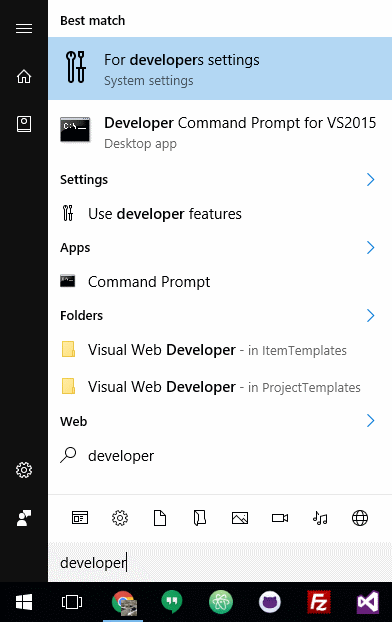
The first thing to do is enable Developer Mode. You can get this set up by pressing the Windows key and typing developer by either navigating through the Settings app to Update & Security > For Developers.
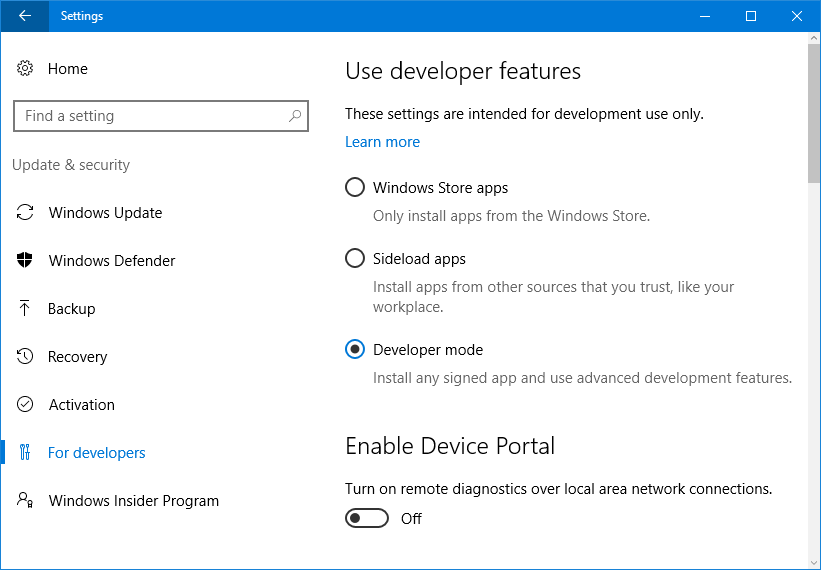
Once at the “For Developers” settings page, select “Developer mode.”
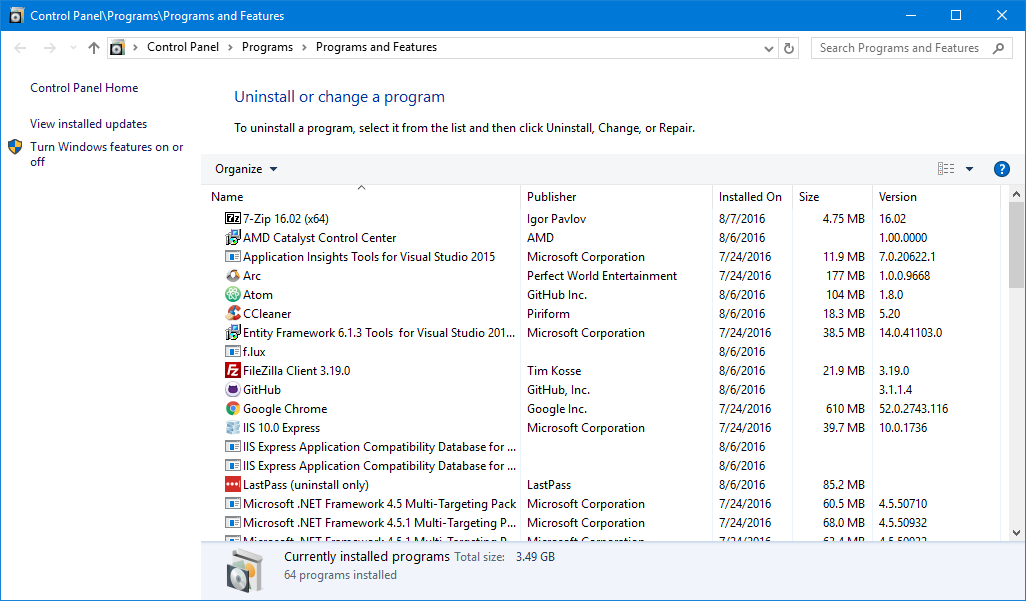
Next, open the Control Panel, click “Programs,” and click “Turn Windows Features On or Off” in the left pane.
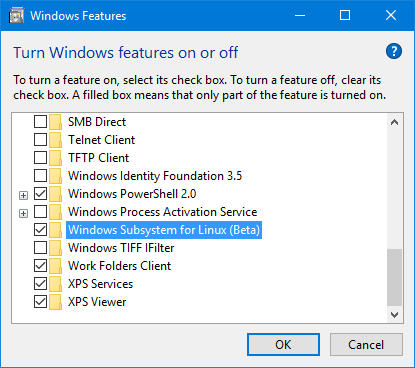
In the “Windows Features” window that pops up, scroll down to and check “Windows Subsystem for Linux (Beta),” and click the “OK” button. You’ll be prompted to reboot, click the “Reboot Now” button.
Install Bash on Ubuntu on Windows
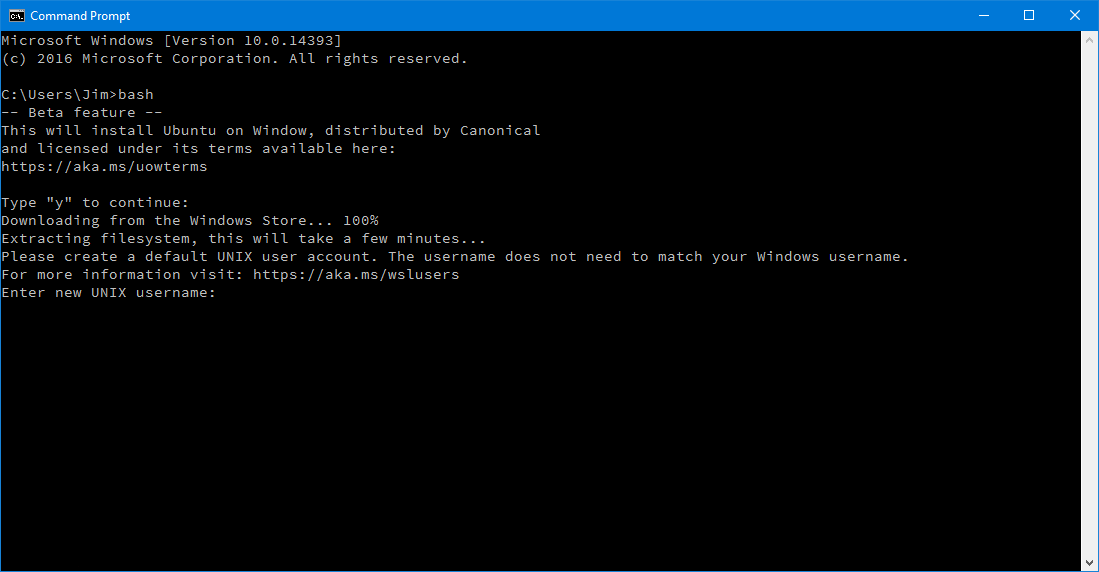
Once your machine has booted back up, the last thing to do is install Bash. To do so, open a Command Prompt window, type in bash and press Enter. You’ll be asked if you want to install Ubuntu on Windows, type y and press Enter. Once bash is downloaded and installed, you’ll be asked to create a Unix user account; once you do so you’ll be ready to start using Bash on Windows.